
Building a luggable computer (for absolutely no reason)
 (click for even higher res; JPG, 9.3MB)
Ever since I remember, I liked *odd* computers. Very small, very big, oddly shaped, seemingly impractical, yet serving a purpose - all of the above seemed interesting.
At some point in life, I also realized that a few things I have grown to like in laptop design are a niche, and computers with those features either cannot be easily obtained, or do not exist at all. Examples include input methods different than a touchpad (TrackPoint, trackball), 4:3 screens and laptops smaller than 11". And hey, I like making stuff! I can make myself a device that is precisely what I want, removing pain points and making it mine!
This post is not about making a device without pain points; It isn't about making something practical to carry around every day either. This post is about having an idea and never asking if I should, just because I could.
Backstory
So, around 3 or so months ago, Elia brought a small CRT from the Warsaw Hackerspace to me. Apparently it came from a CNC mill that we acquired years prior and was never used after being removed from the control circuitry that we decommissioned. It sat on my desk for a bit over a month, and then, one weekend Linus came over:
(dramatic recreation of events)
- What's this?
- oh, it's.. a CRT from a CNC mill. Black-and-white, green phosphor, someone installed a raspberry pi inside but never used it for anything swearing in polish in search of a C13 cable, turns the thing on
- That's so cool!
- maybe I should find a case for this...
While they did not give a clear direction to the project themselves, Linus definitely sparked an interest in me actually using the screen for something. At that point, I had one "portable" computer project already ongoing - while at GPN, I saw someone lug around a Panasonic Toughbook with a shoulder strap, and I decided that I have a great need of having the exact same experience - so I acquired a CF-28, gutted it out and started planning how to fit a Ryzen thin client into it.
Unfortunately for me (and fortunately for this shitpost), that project has been put on hold when I broke the LCD and had no replacements immediately available. This left me with a pile of parts - ones that I still intended to use in the future, but temporarily free parts.
Goals for the new project included:
tl;dr: I wanted to make an Osborne / Commodore SX-64 / Compaq Portable lookalike.
Searching for Making a case
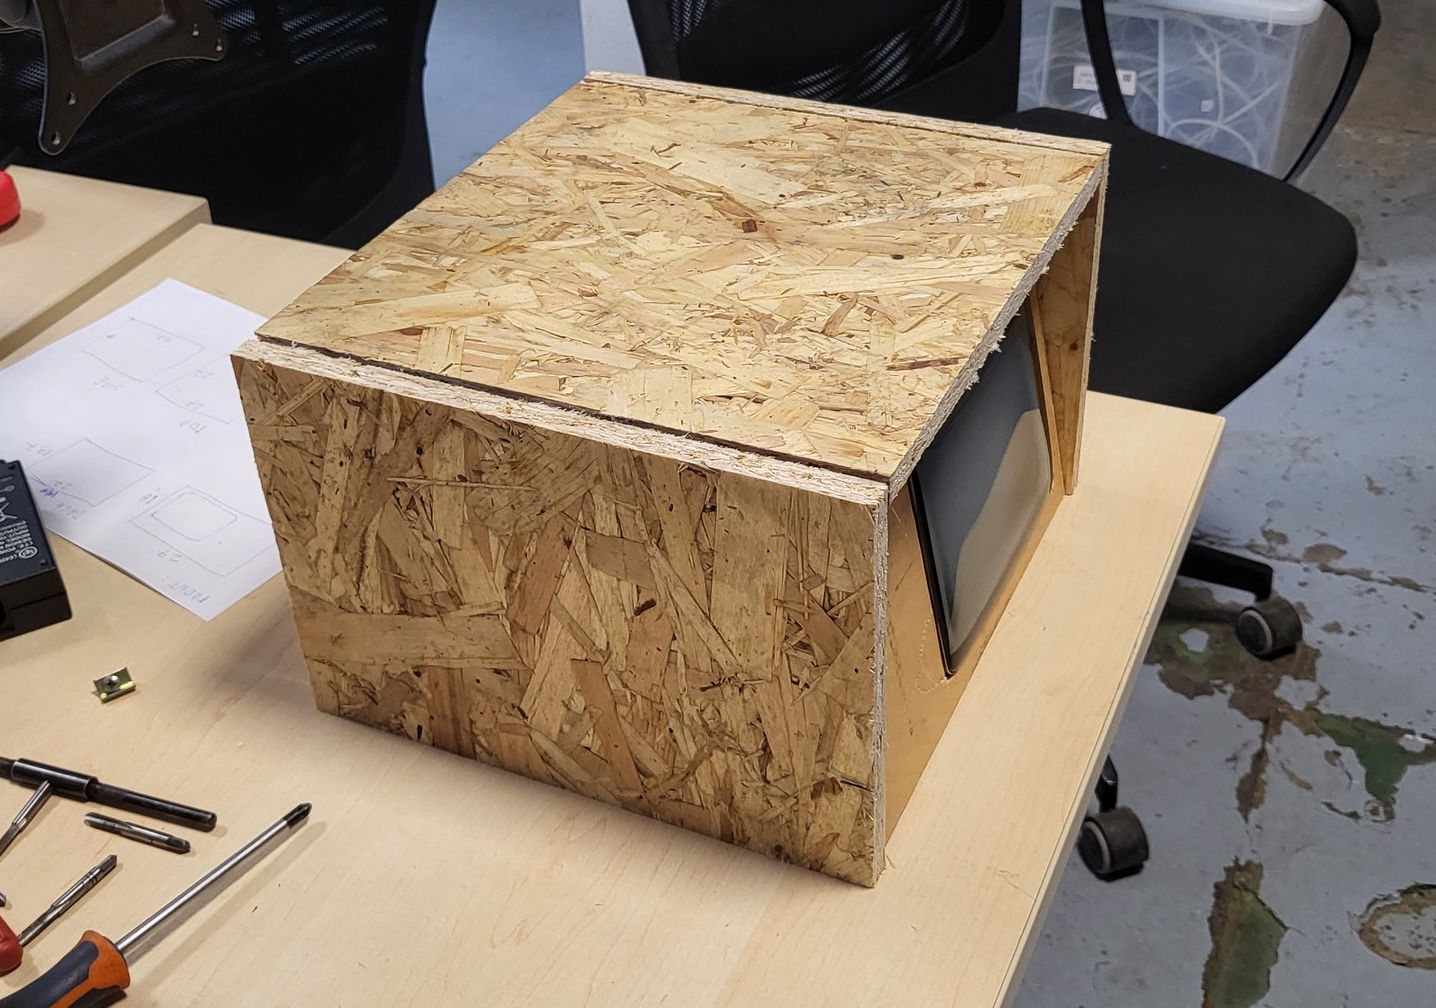 look ma', it's a box
The base vision for the project was clear from the very start: I wanted to package the CRT in a case that didn't risk killing the user if they "held it wrong". I was looking for a sturdy box, preferably made from sheet metal or wood. Unfortunately, it turned out that we didn't have anything quite the correct size at the 'space, thus I chose to build it from scratch instead. OSB is my material of choice for projects like this one due to how sturdy it is - while looking really cool even without any finish. A few non load-bearing parts were made with plywood, mostly because it's easier to cut into very specific shapes and is generally thinner than chipboard.
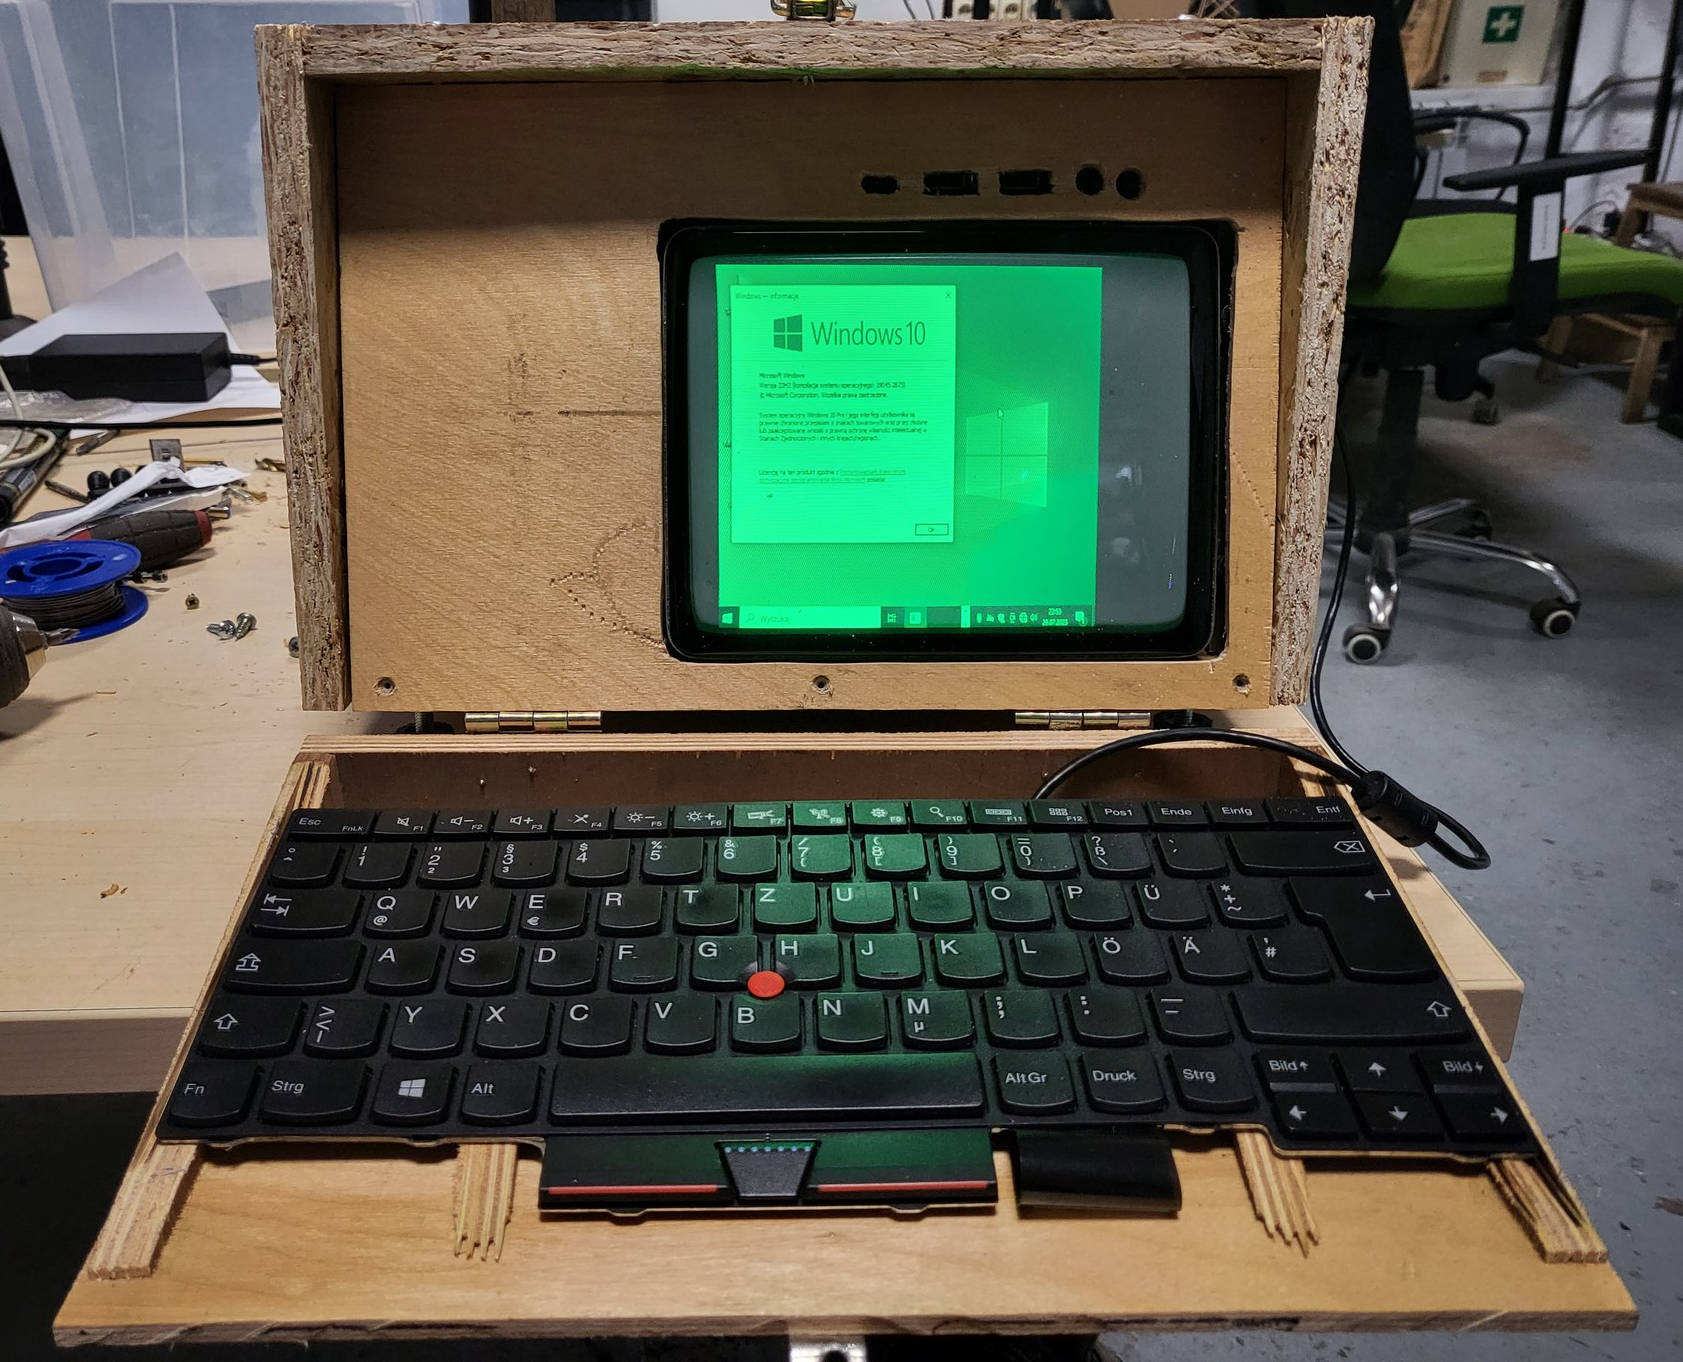
"Designing" the case was done simultaneously with actually building the thing; We decided upon the case width by measuring the CuteBoard, because in the beginning I intended to make a custom board just for the purposes of the project - that idea fell through when ar passed through and jokingly said that "this could fit a ThinkPad keyboard". At that point, we already had a part of the case assembled - fortunately, one of the TP keyboards I had was just a few millimeters too long. I managed to remedy that by carving out a slot in the sides of the keyboard tray. A few pieces of scrap wood left after cutting out the keyboard tray were used as a backing for the keyboard to reduce flexing.
 fits? sits
Back to the main case: Originally, I intended the chasis to be assembled once, screwed together and not torn down ever again; Elia has suggested a system where by undoing a bunch of screws on the sides, the both side panels and a top panel come out at once in an U-shaped piece. This has turned out to be very beneficial for repairability and ease of hacking.
 some assembly required
Both the back and the front of the case are mounted on hinges; The back has a big thumbscrew which secures it to an angle bracket inside the case - this allows quick opening of the case for servicing jobs, connecting additional cables and such. The front piece is slanted (thinner on the front of the keyboard, thicker on the back) for a more comfortable typing experience. There's also a latch that allows for quick locking / unlocking of the keyboard tray for transport.
The whole case got painted black, except for the angle brackets holding the case from the outside; Leaving them out was a conscious decision (they make the whole thing look more rugged), and the same is true of leaving them plain.
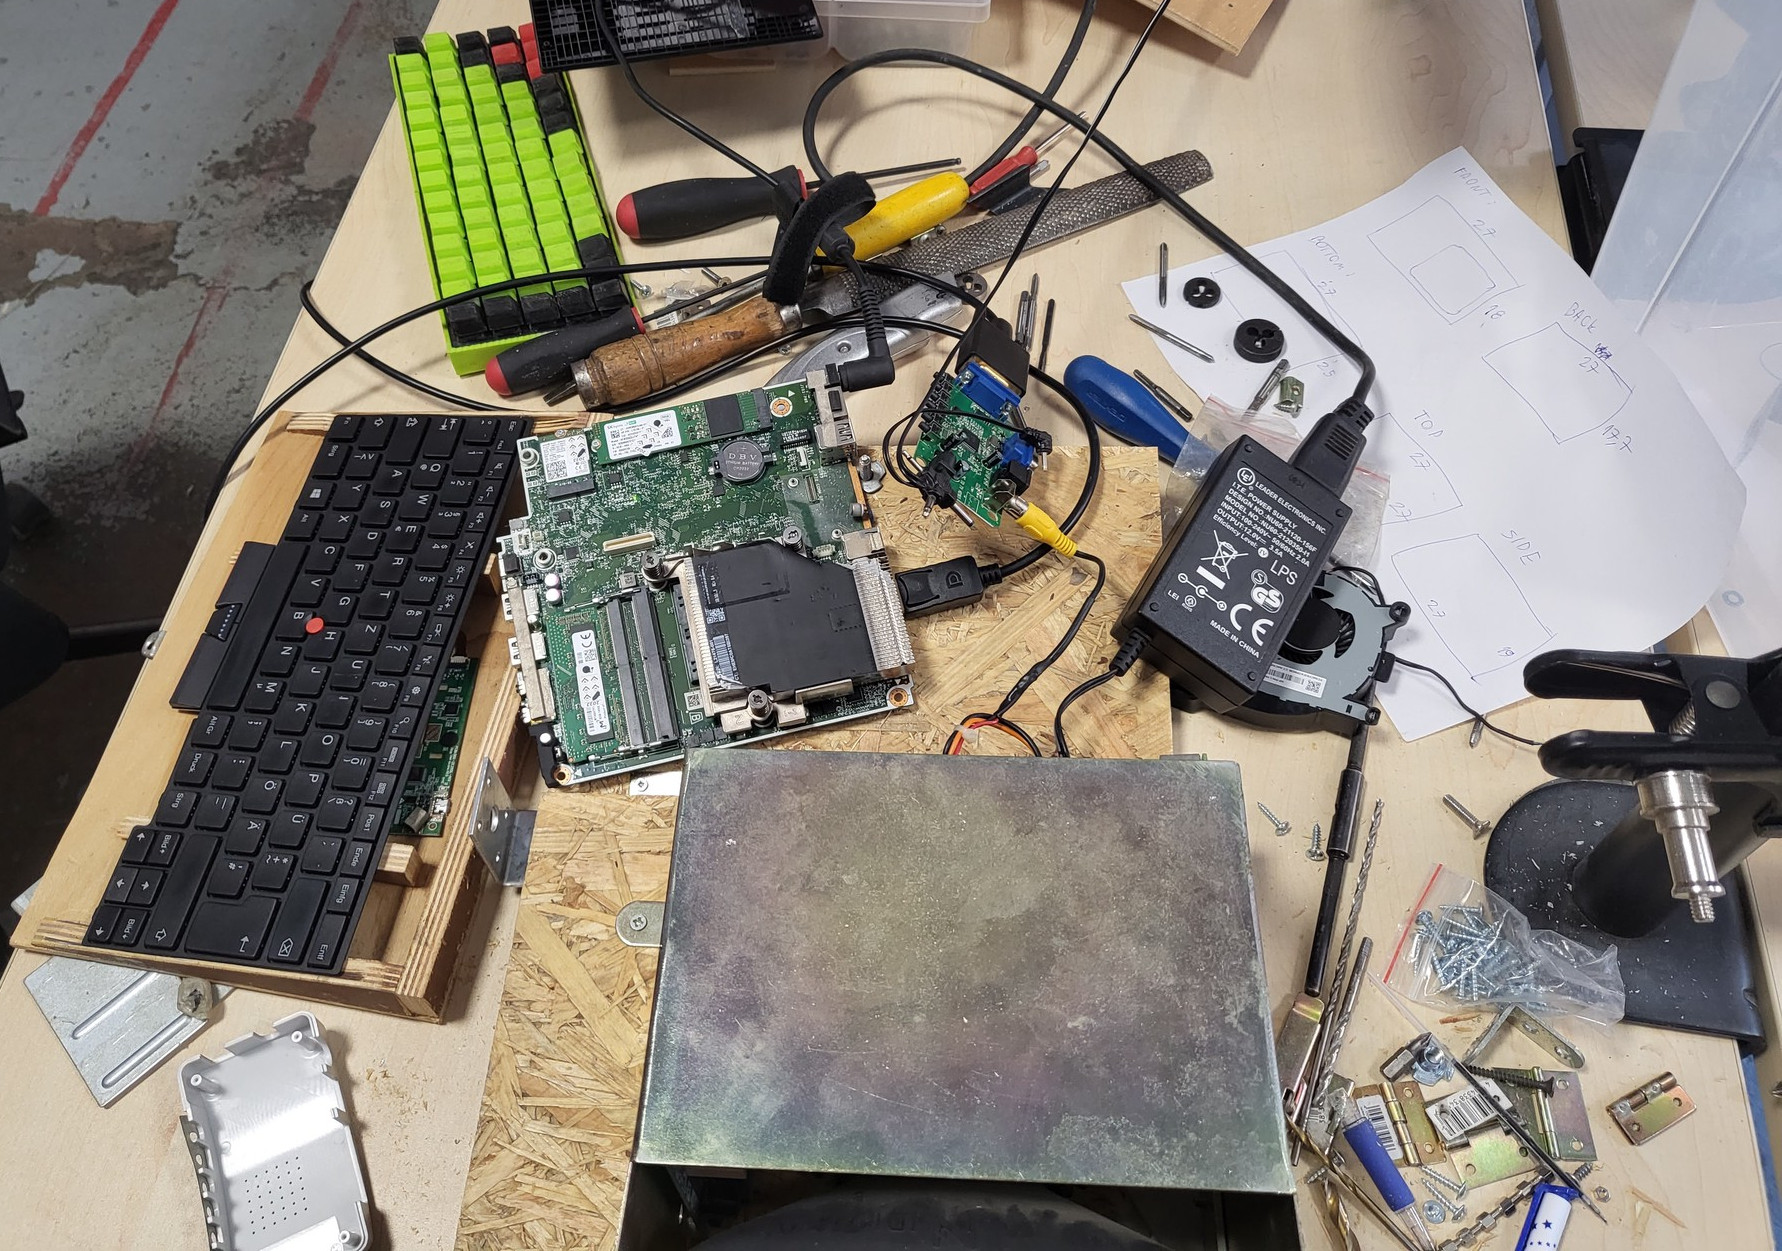
Inside
The electronics were actually quite straightforward. The "design" of the power section went through a few revisions, finally ending up on:
- Power goes in through a 20V USB PD trigger
- 12V DC-DC converter powers the original circuitry that drives the display
- To allow for switching power sources on the fly, there's a second USB PD trigger in front of the case, and a switch that selects which one should be used.
- To maintain power when switching power sources, there's a capacitor bank inside. This can hold the luggable on a couple hundred milliseconds, which is just enough to switch over. Additionally, having a cap bank makes the power rail more stable (and the CRT really needs a stable power rail)
- There are a few switches on the front - one for picking the power source, one for turning off the CRT, and one push button for ACPI power-on of the thin client
The box itself houses the following components:
- a HP thin client, with a Ryzen PRO 2400GE (this is probably one of the smallest boards with a full AM4 socket!) and 32GB of DDR4 RAM (yes, this machine is powerful)
- a green phosphor CRT from 1982, sold by some UK company as a generic component for industrial (?) applications; mine appears to be barely used (no burn-in!)
- an active DisplayPort to VGA adapter
- a generic... scanhalfer? cheap board that takes a VGA signal and spews out composite video
- a generic USB to RS232 adapter (just because!)
- a power bank, if I charged it (the back escape hatch is useful for swapping those)
Demos
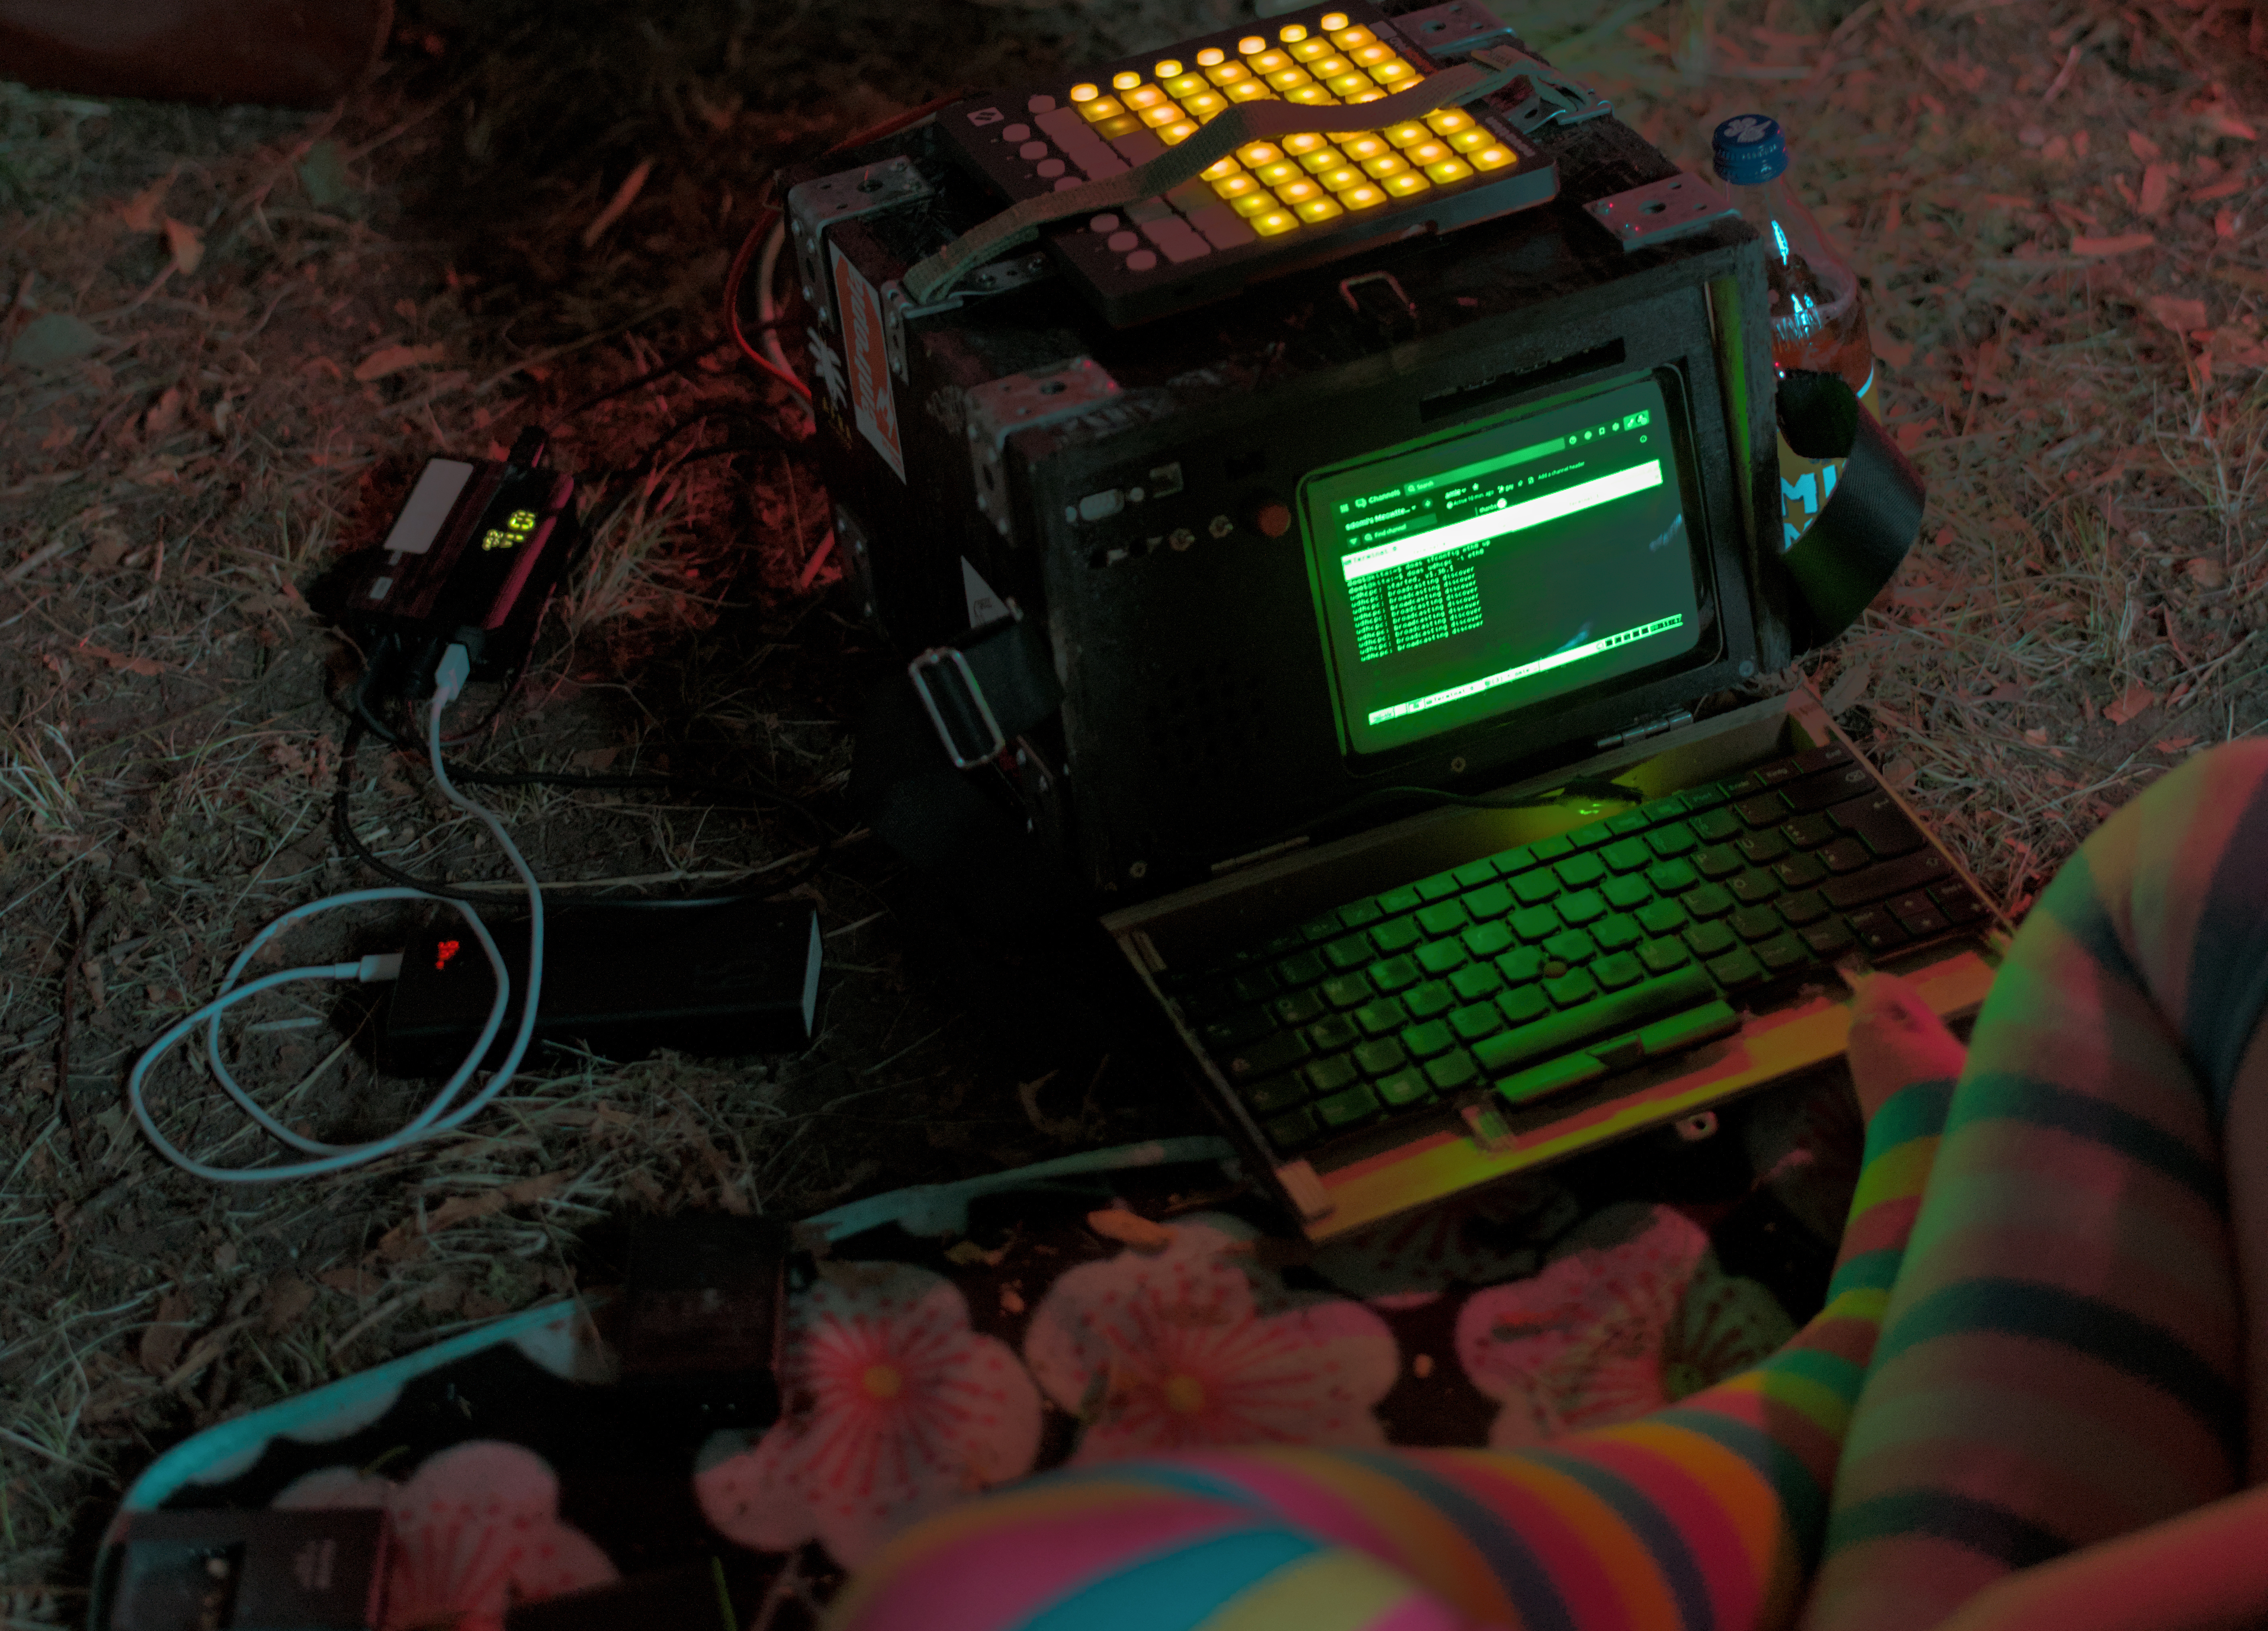
Through a friend at hswaw, I have obtained a launchpad mini while working on this project (thanks drozdziak1!). ar jokingly suggested that I should velcro it to the case and use it as blinklichter, and.. that was too good of an idea not to.
above is a vp9 video, 720p, 4.3M;other resolutions: 1080p, vp9, 7.1M | 480p, vp9, 2.3M
src: fedi
(also, thank you ar for writing a library for animating the launchpad. it's really cool!)
I tried playing games on it! With varying degrees of success. On one hand, the long-retaining phosphor isn't as bad as you'd think for fast moving objects, yet on the other hand it is a worse experience than a modern LCD, especially if the displayed objects are dark. I know, shocker.
Below is some Celeste footage recorded by Tammi at CCCamp23 at Mystical Garden.
above is a vp9 video, 720p, 3.7M;other resolutions: 480p, vp9, 1.8M | 1080p, vp9, 6.8M | 2160p, vp9, 23.9M
src: fedi; thanks Tammi! ^^
Also at Camp, we played some Mario Kart through yuzu:

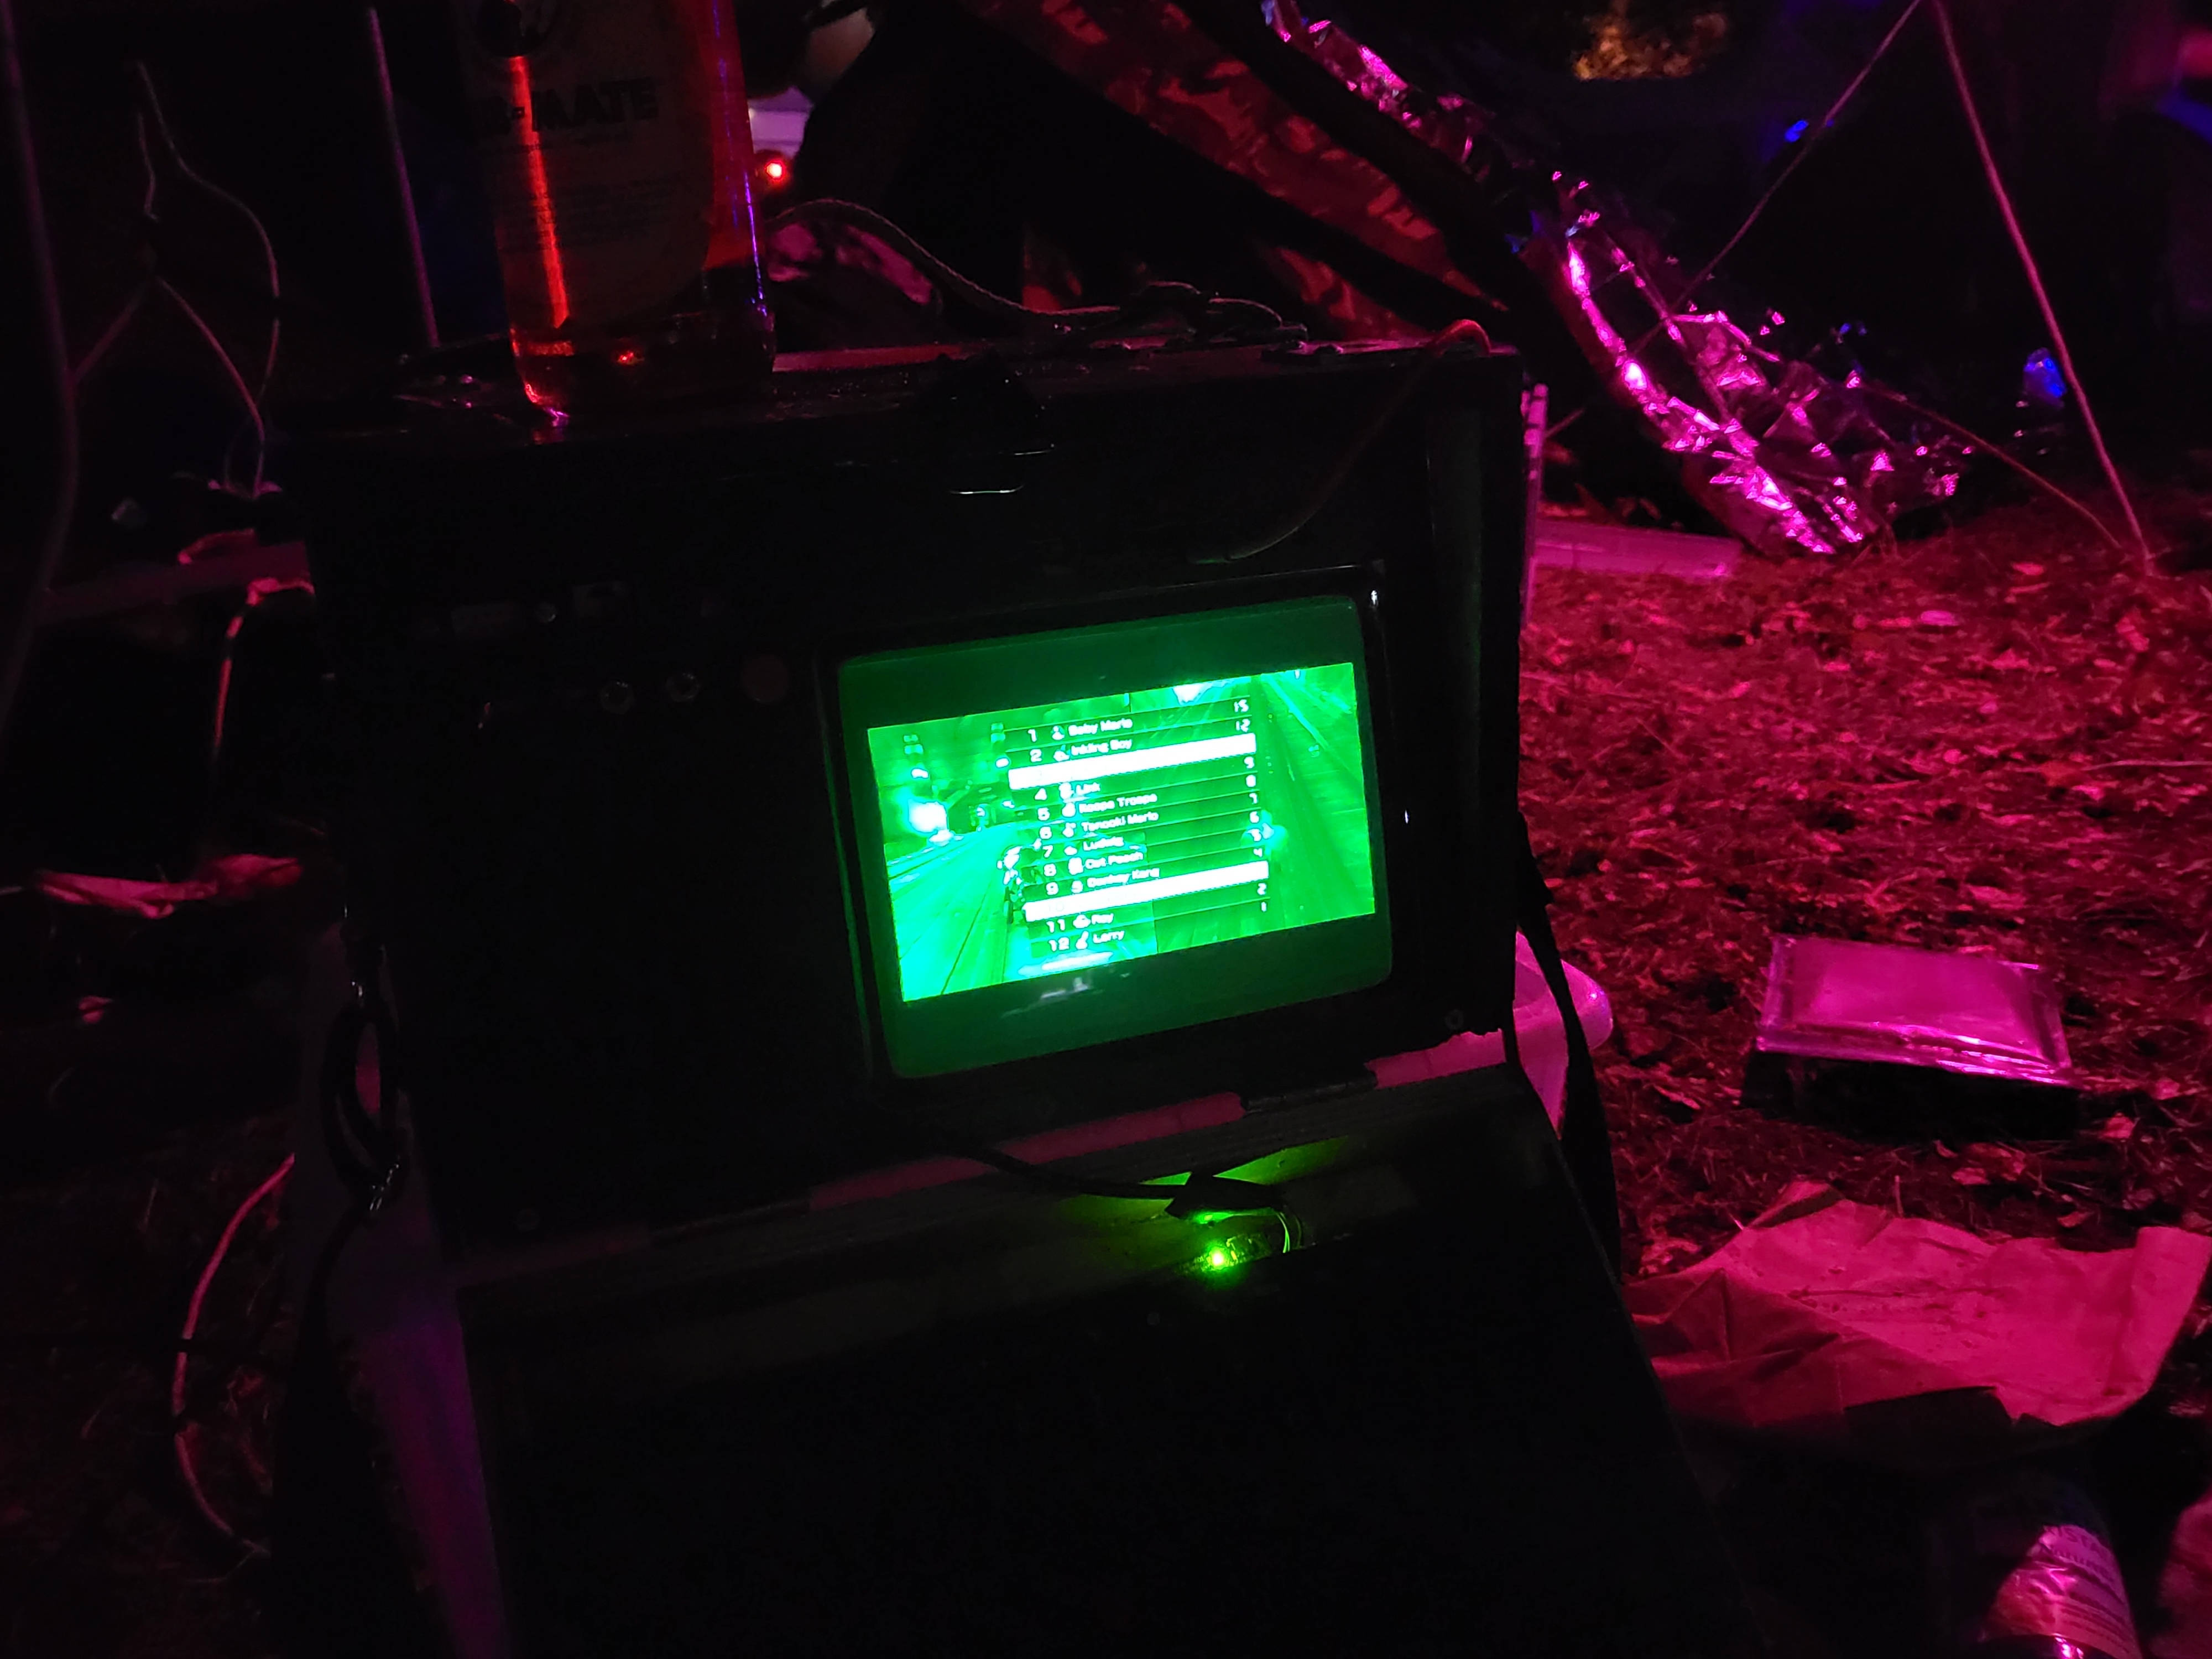 Excuse the blurry mess - making pics of CRTs in dark places continues being impossible (src)
Of course, since it's a green CRT, I had to run cmatrix on it. It's pretty!
above is a vp9 video, 720p, 9.5M;other resolutions: 1080p, vp9, 21.5M | 480p, vp9, 4.3M
Possibly the most sdomi thing I've done with this was using it as a portable music player. Because why not.
above is a vp9 video, 720p, 2.4M;other resolutions: 2160p, vp9, 15.8M | 1080p, vp9, 4.0M | 480p, vp9, 1.3M
src: ar; thanks!
FAQ
Q: Why?
A: oh come on, isn't this cool?
Q: But seriously, why tho? This seems like a lot of effort..
A: I'm socially anxious and I was hoping that this could be a fun conversation starter at CCCamp23. and it worked! this, plus... honestly, I just like making things, even if they don't have a point <3
Q: What OS does it run?
A: Alpine! That's not specific to this build, that's just what I use ;3
Q: What's the battery life?
A: This... depends. I don't have a single power bank that I use with just this machine, I have a few that I swap around as needed. A generic powerbank branded as "20000mAh" holds this machine for about an 1.5 hours with the CRT on and doing some light tasks (browsing fedi, etc). This time doubles when you turn off the CRT.
Q: Why go with USB-PD and power banks instead of 18650 cells?
A: While I'm not against using 18650 cells in projects, sometimes it's easier to use known and working solutions. Throwing in a generic USB PD trigger and a power bank into a project is much less effort than using 18650 cells and making sure everything is safe and they won't explode.
please assume that 18650 cells will eat your lunch unless proven otherwise.
Q: But does it run Doom?
A: Yes!
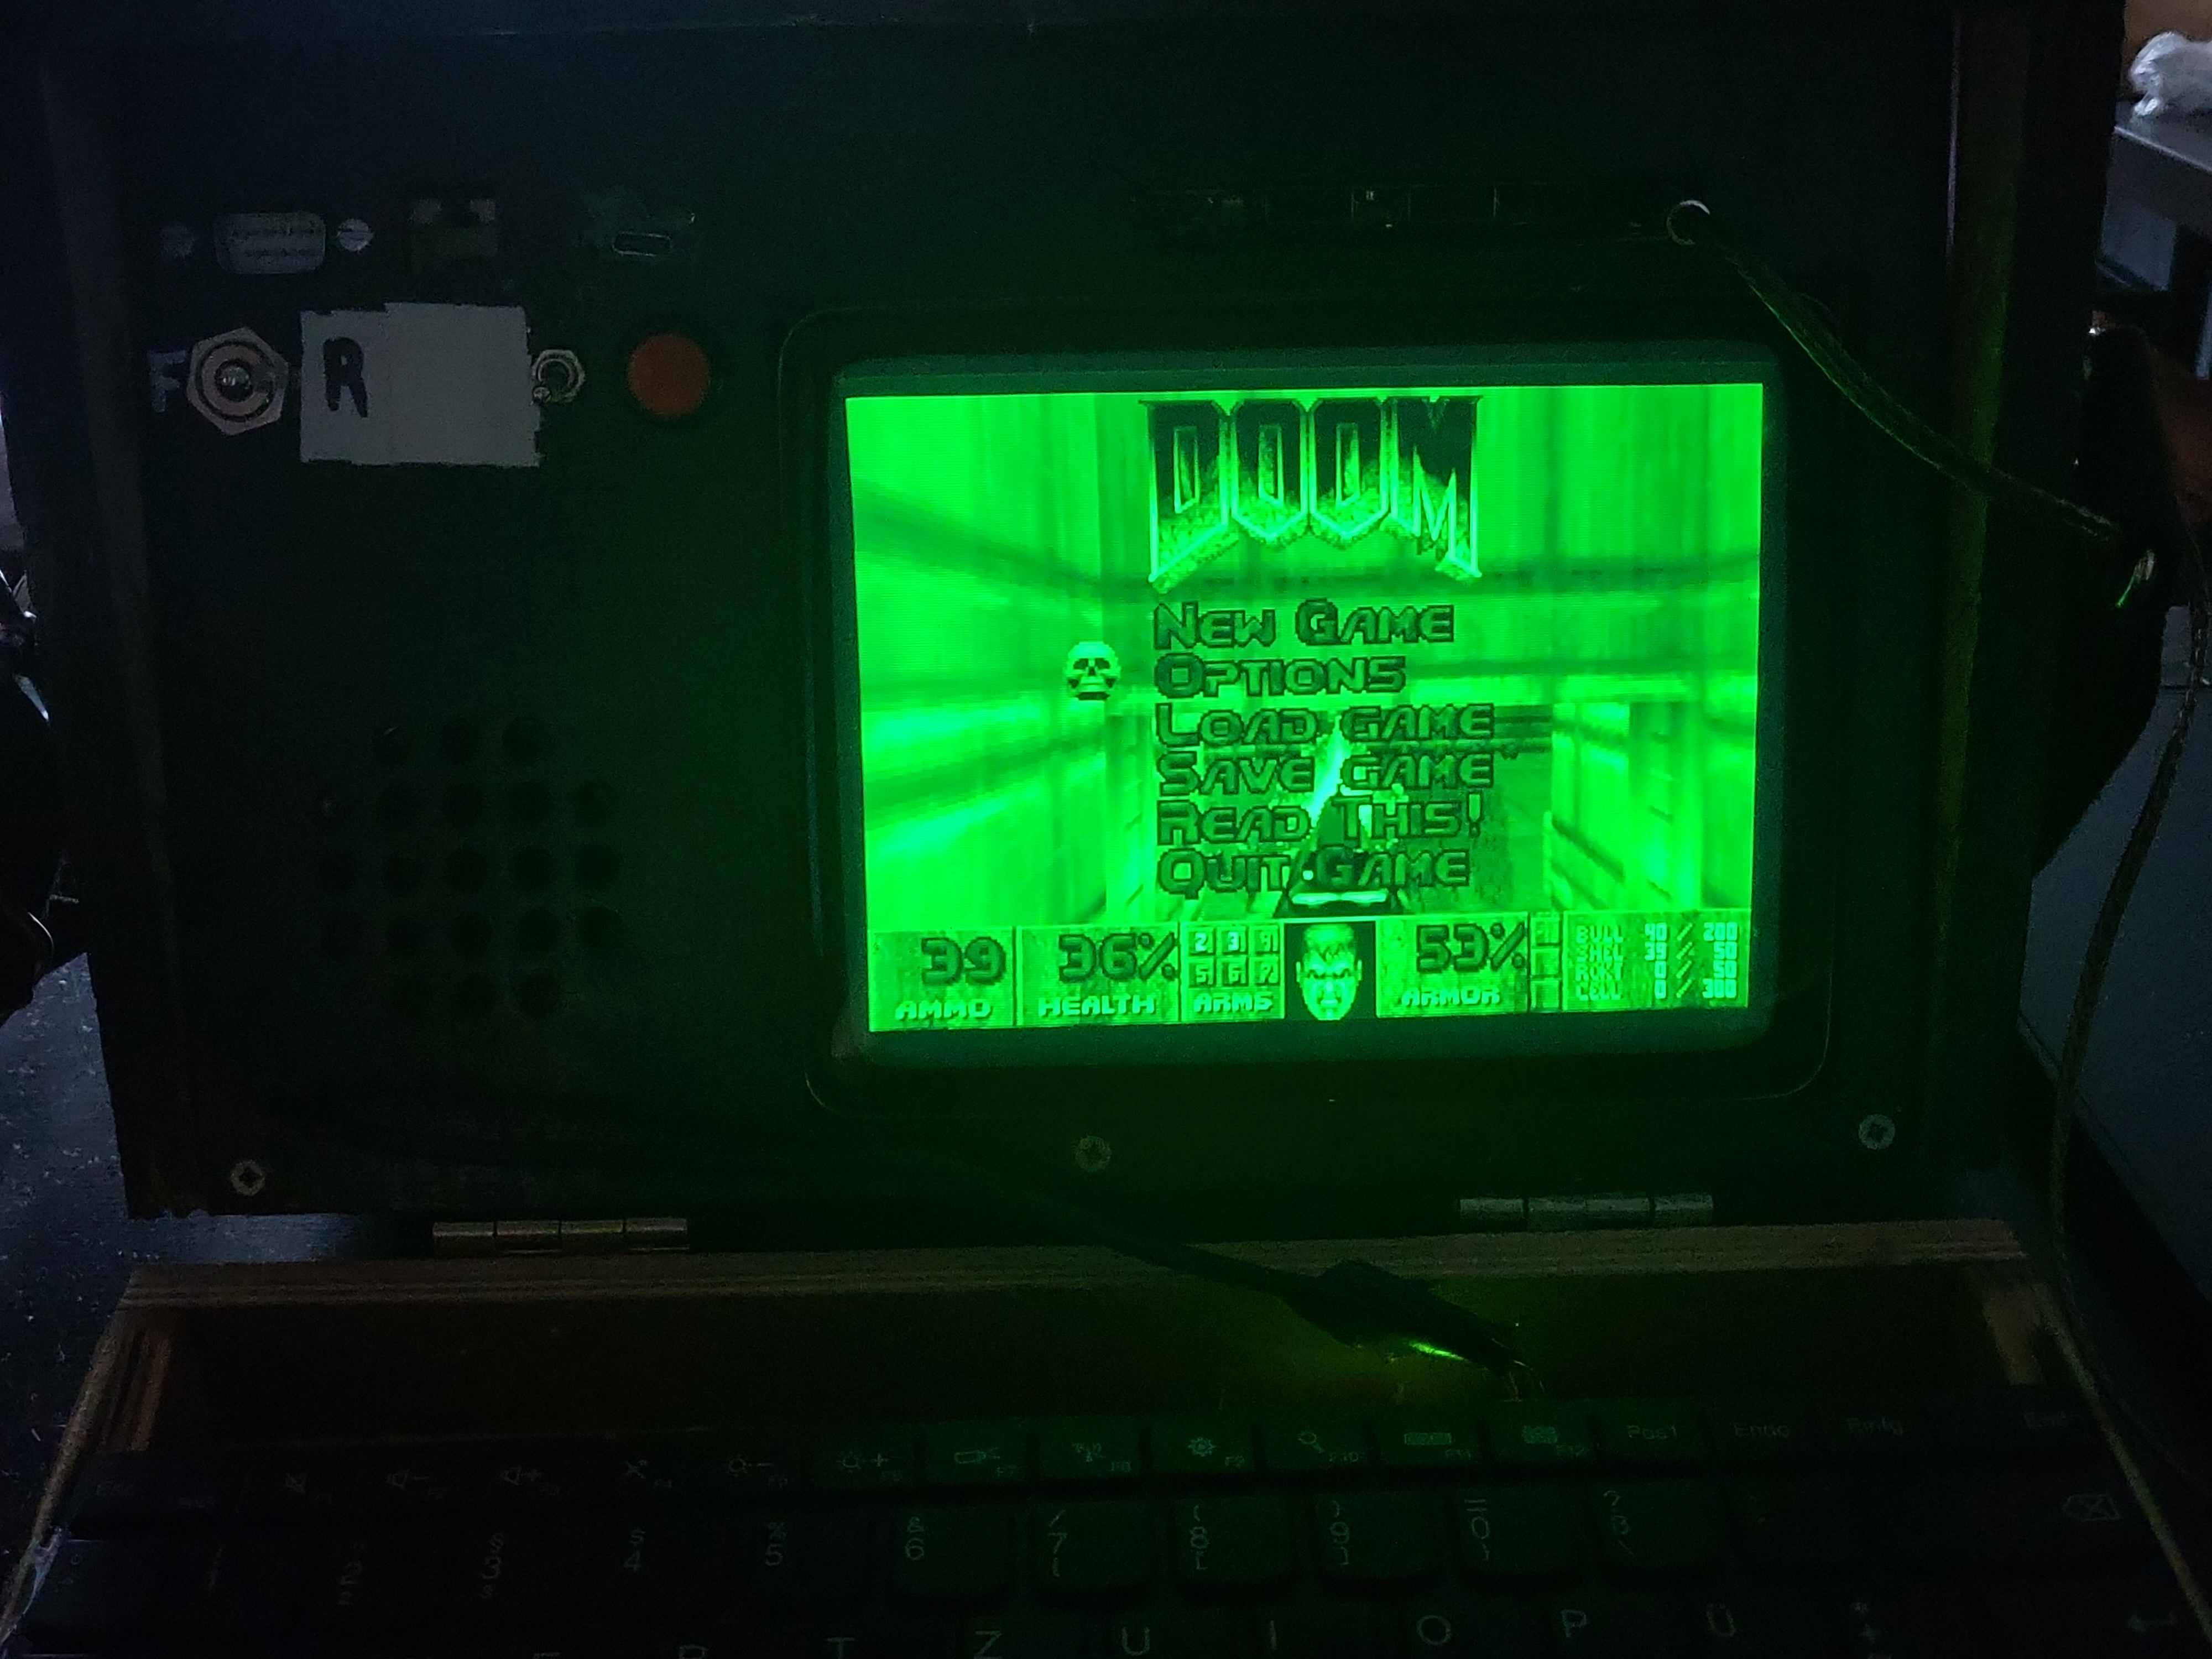
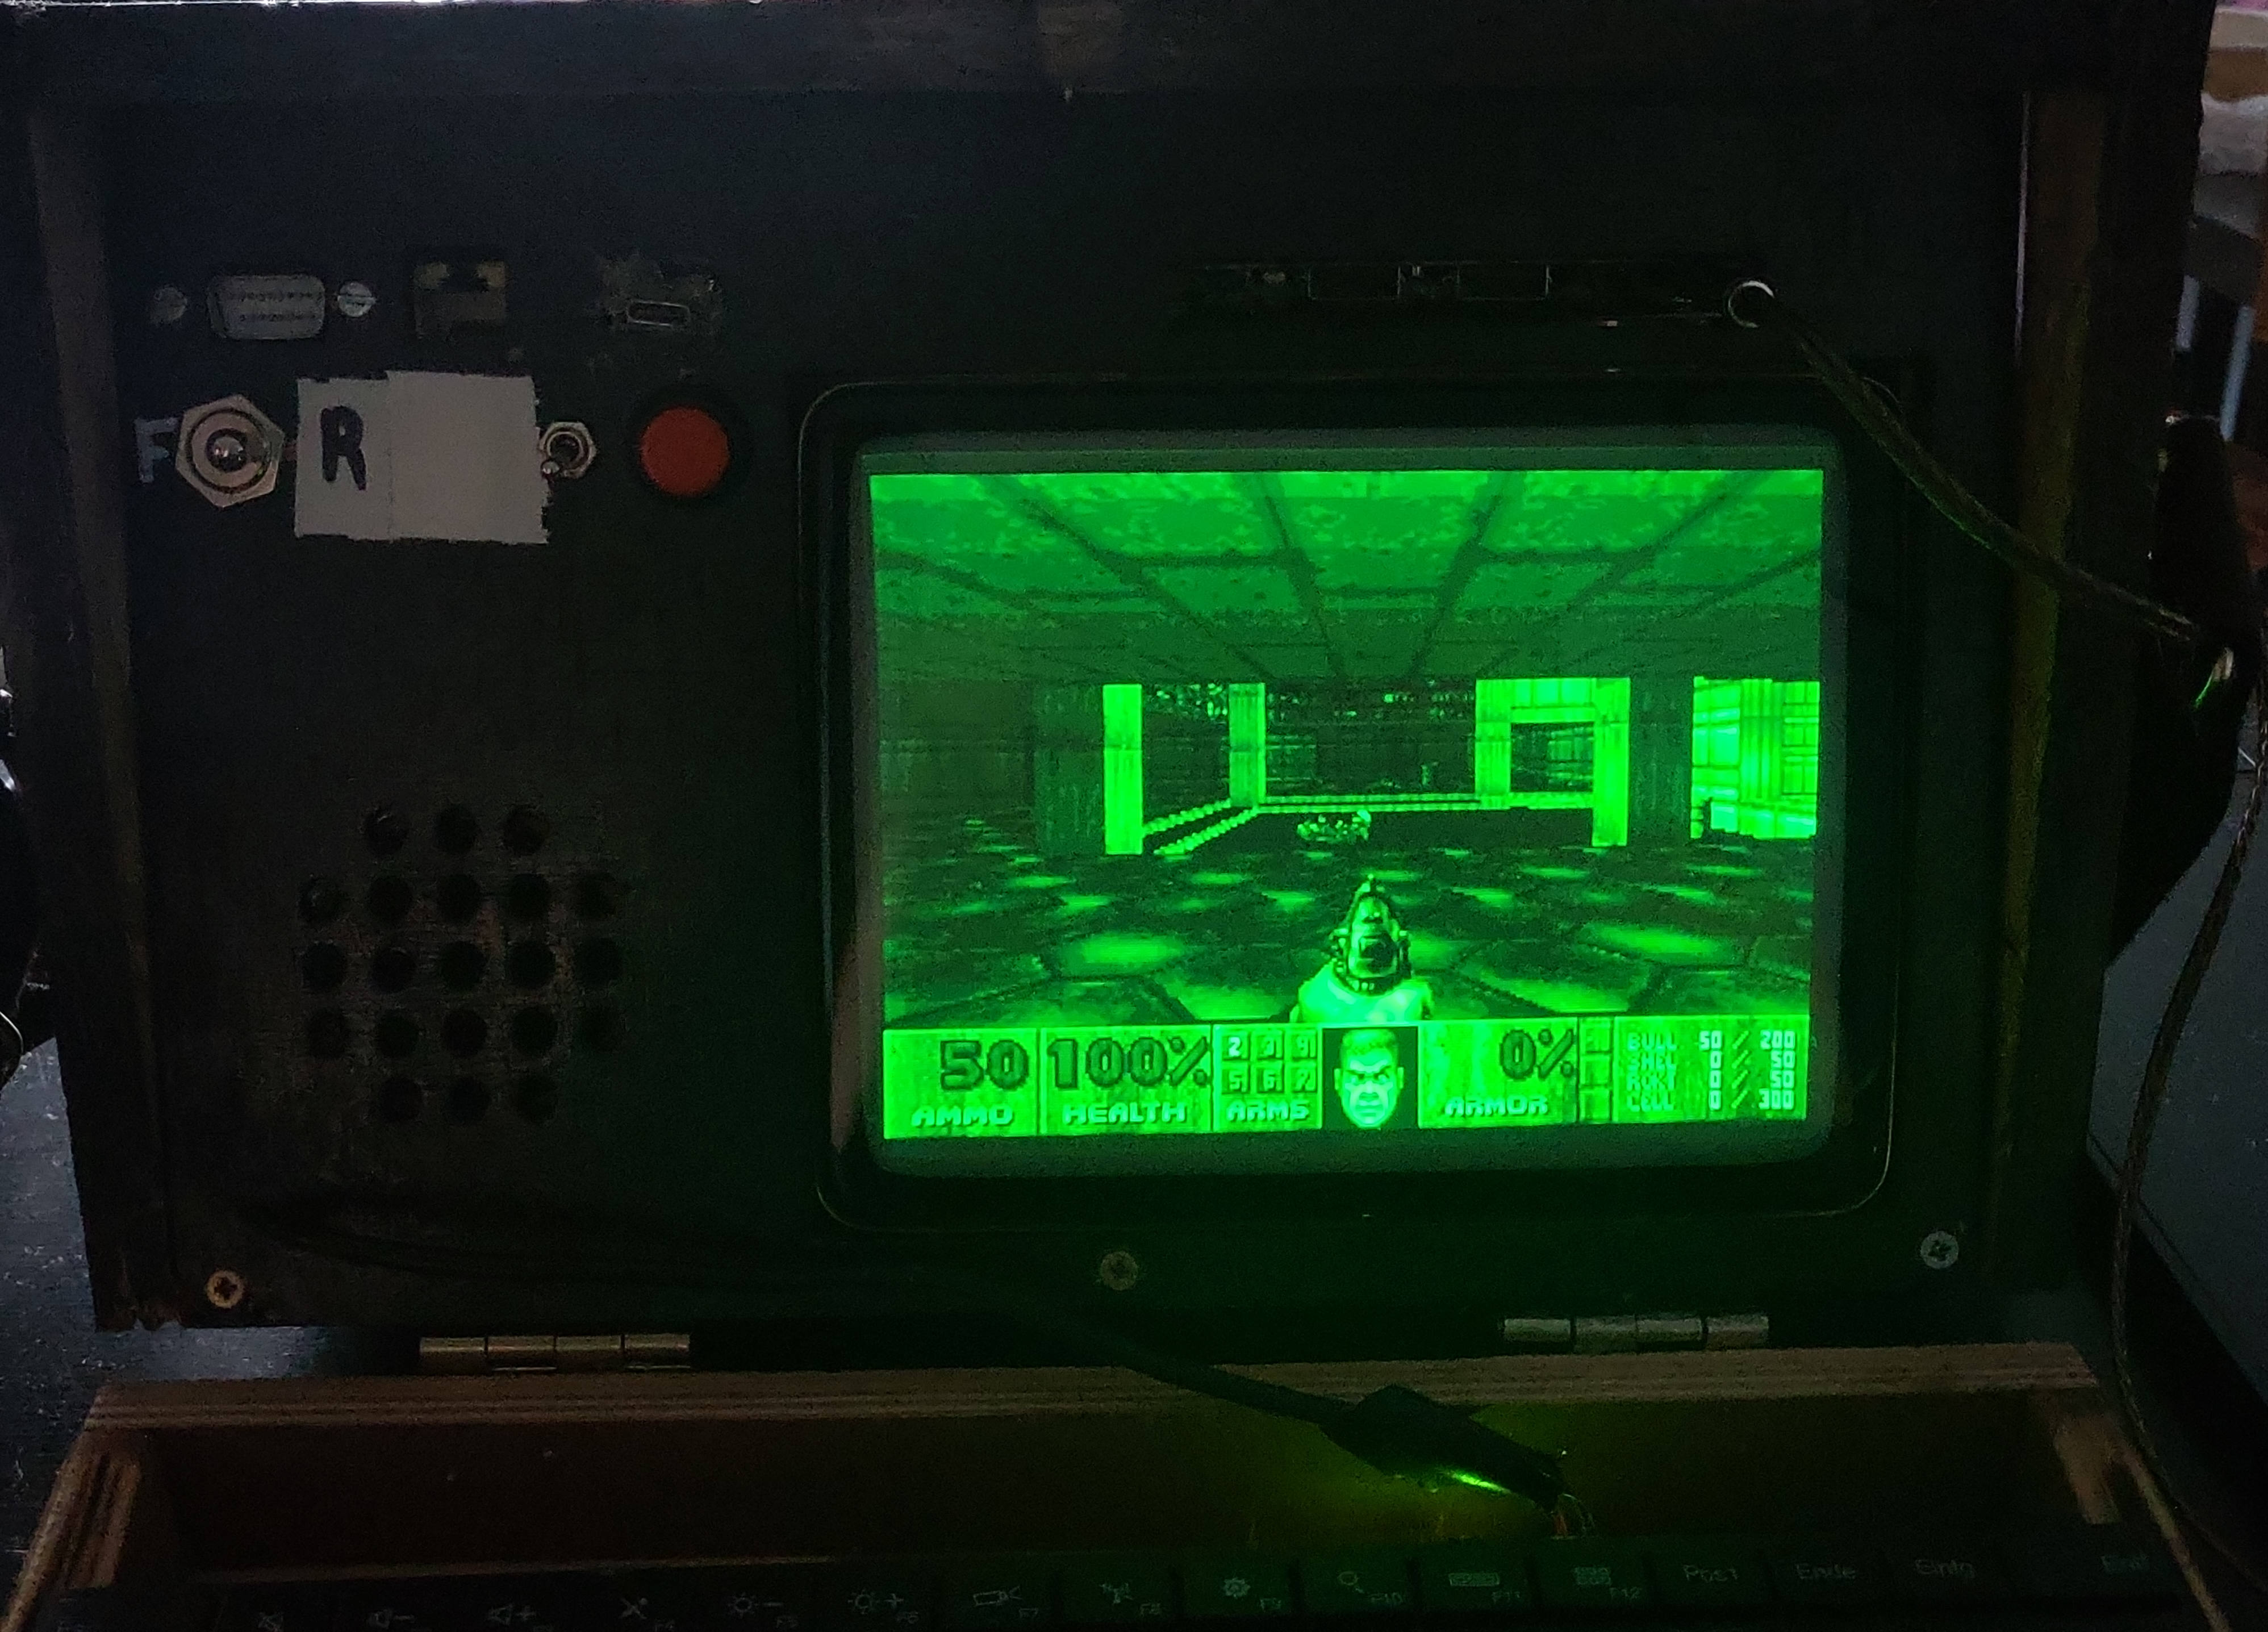 It could probably also run Doom 2, Doom 3, Doom (2016) and Doom Eternal, but I haven't tried :p
Q: What's the resolution of the CRT?
A: I usually use it in 1024x768 or 800x600, depending on how bright of an area I'm in. At one point in the display chain, the signal gets passed through composite video, but due to the fact that it's just luminance, it doesn't actually look half bad!
Q: Does the CRT strain your eyes? What about the high-pitched noise?
A: The CRT is possibly one of the comfiest screens I've looked at. It's quite bright - especially if used in a dark environment - but for whatever reason it doesn't seem to strain my eyes, even though an LCD at this brightness would. As for the coil whine, I can hear it if I open the back of the case. Otherwise, it's only there at certain angles and it doesn't cause headaches.
Q: Isn't this a bit too clunky to be usable?
A: I'm writing this sitting on a windowsill with this contraption on my lap (which technically makes it a laptop!). I am achieving peak comfy levels right now. Somehow, this actually works.
Q: How much does it weigh?
A: Not sure, haven't checked, don't have a scale on hand. Possibly 5-8kg.
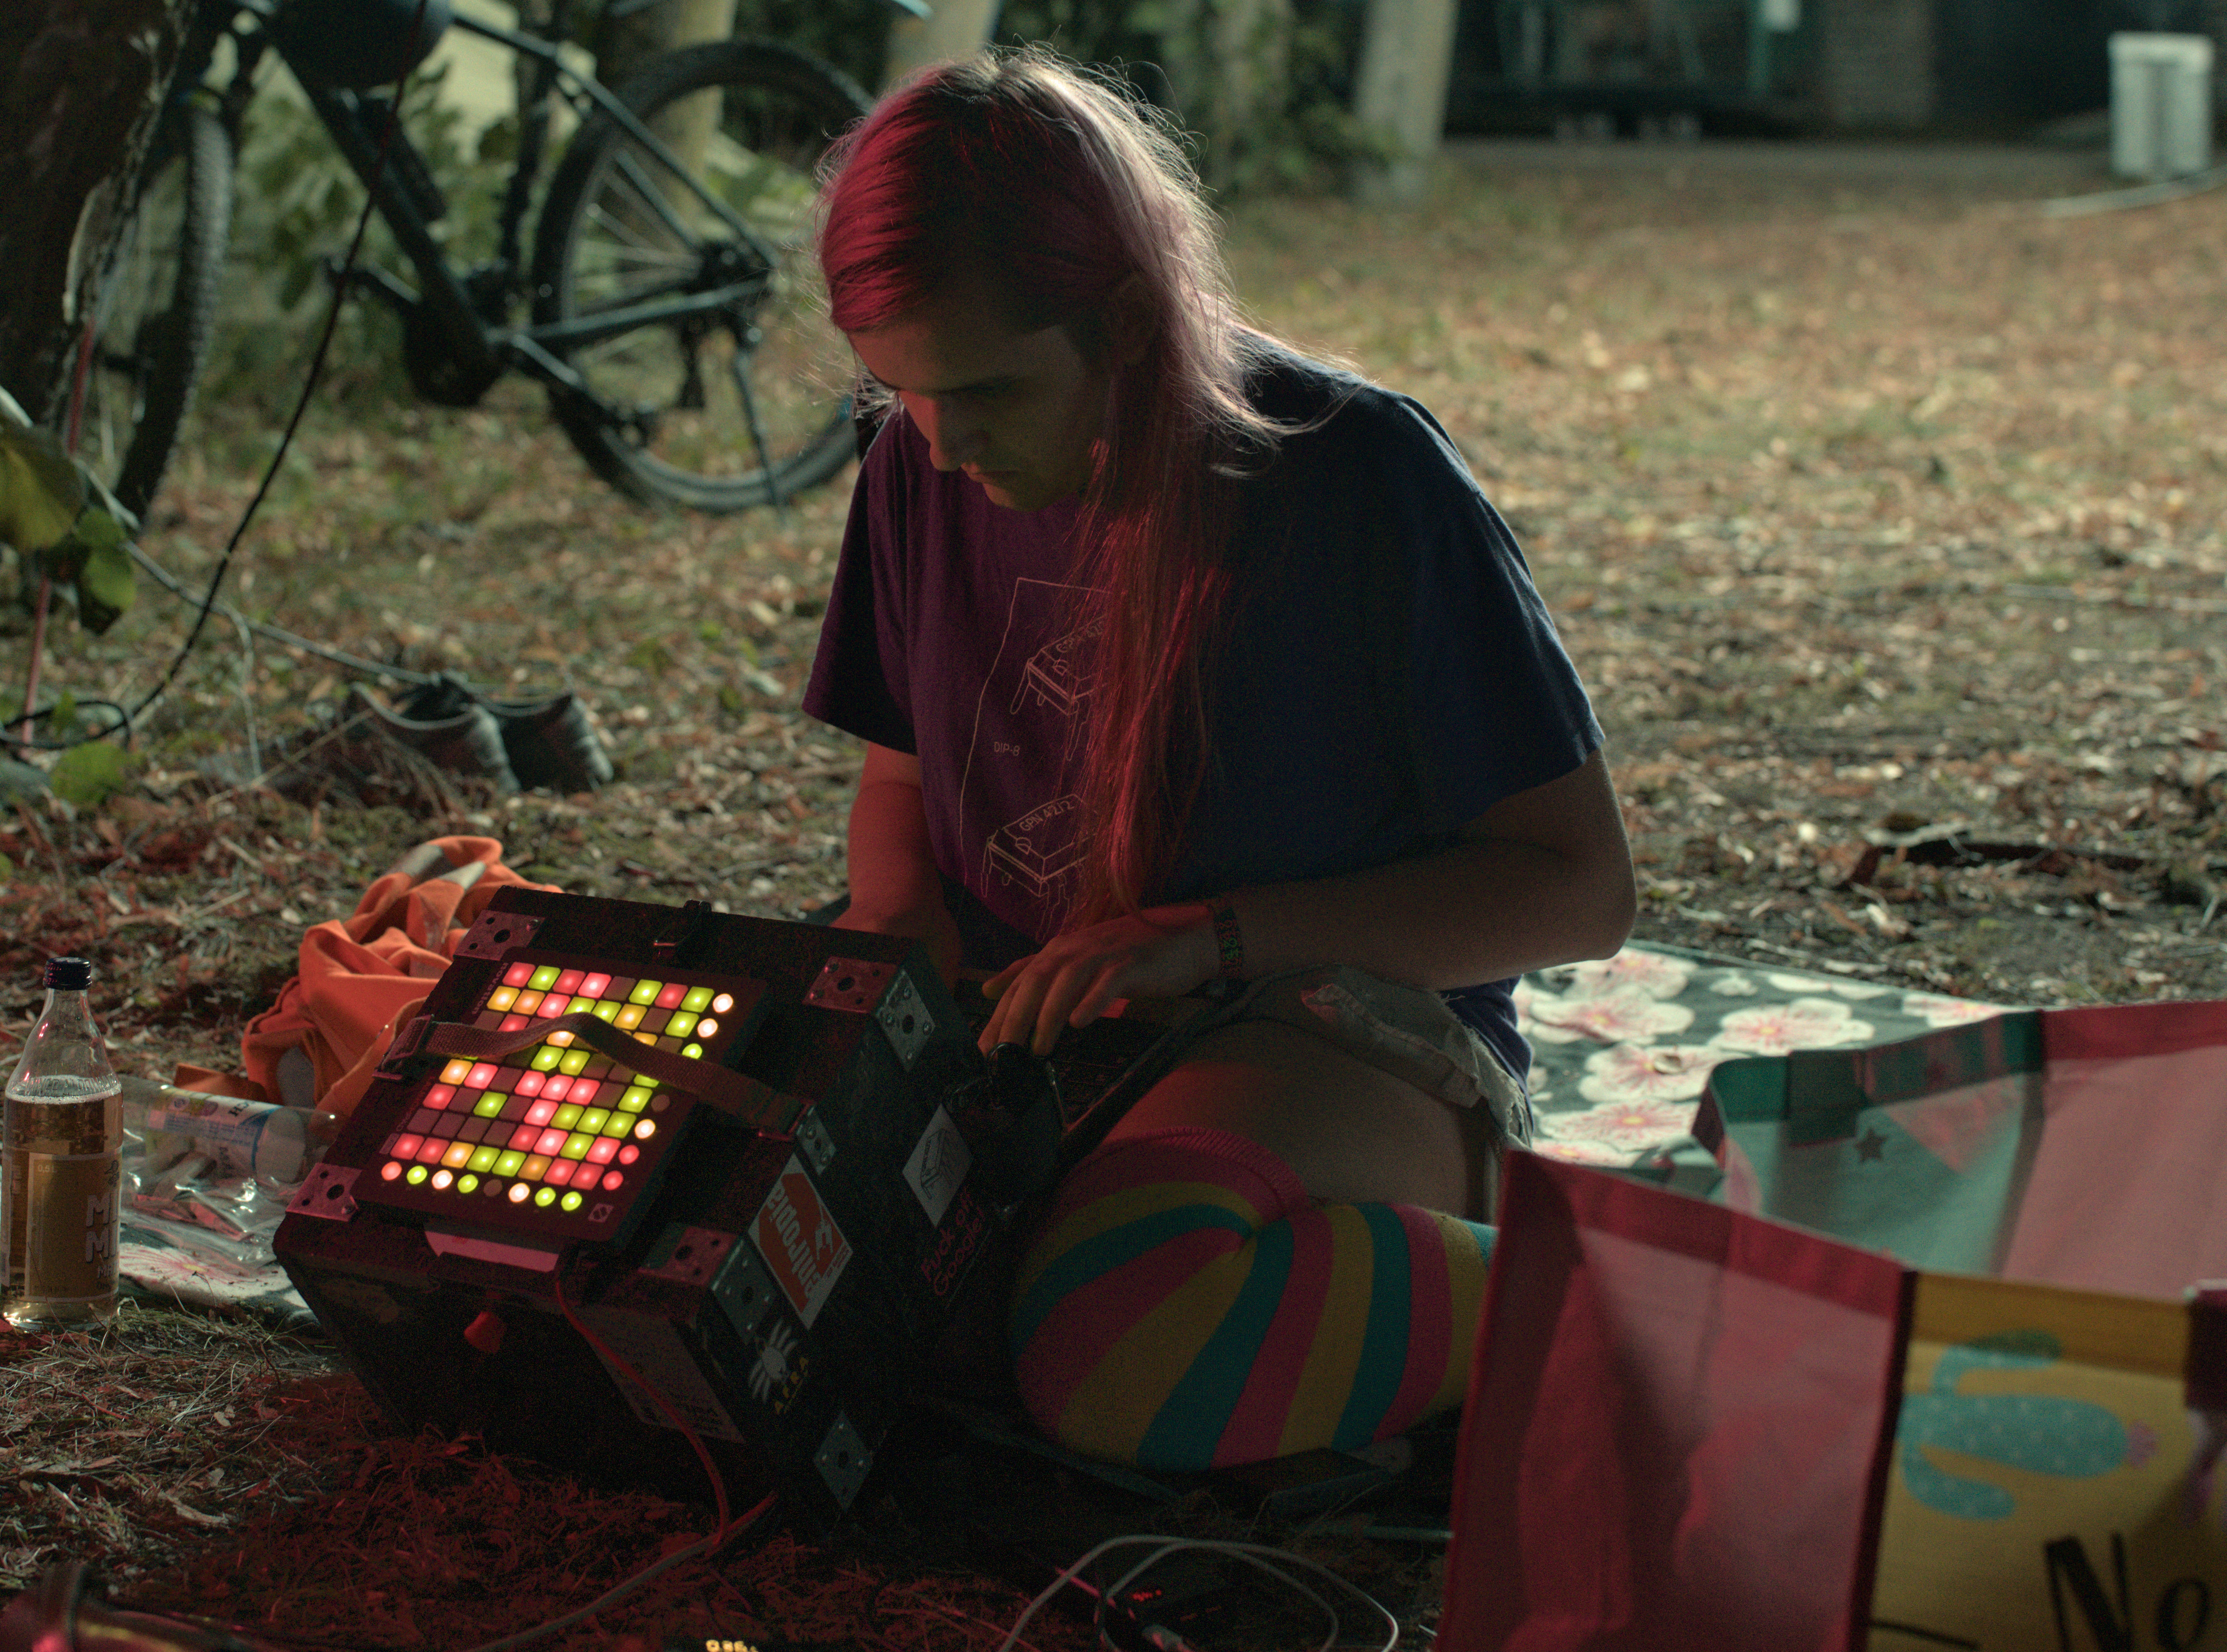 ohai, it me (click for a bigger picture, 3.8MB JPG)
Big thanks to:
- Linus, Riley and ar for proofreading this post
- drozdziak1, for the launchpad and taking a bunch of really cool pics!
- ar (again, wohoo!) for creating the midimacropad library <3
also: this whole blogpost was written on the luggable (albeit for some parts, it also had an external screen attached)

Comments:
Remarkable retro-results. How did you connect the Thinkpad keyboard?
prefetcher at 28.08.2023, 14:37:32Incredibly cool!
pacman at 31.08.2023, 19:46:47How are you this cool? Im reporting you to the appropriate authorities
confusomu at 18.09.2023, 22:40:15awesome project!!
nitro at 14.11.2023, 19:57:39very cool!!
aprl at 16.11.2023, 20:57:52uwu owo uwu :3
hgmlle at 23.12.2023, 15:03:27it's truly glorious
linusg at 29.12.2023, 13:04:47meow :3
laserm at 07.01.2024, 23:19:28Very cool! Reminds me of like some fallout computers from screenshots (never played tho)
max at 12.02.2024, 14:58:48oh wow, this is super cool
PypeBros at 27.02.2024, 13:55:02+2 for sticking a launchpad at top of it...
philocitea at 06.03.2024, 11:51:15That's looking fantastic, thank you for a new obsession :D
fax at 10.03.2024, 16:32:34<img src="https://" />
nikuw at 29.03.2024, 18:22:54yooo how have i not seen this before, this is such a good Contraption™
By commenting, you agree for the session cookie to be stored on your device ;p